Identify the item
Include the full model, manufacturer P/N, revision and quantity.
Dell / GPU Upgrade Kits
Source Dell PowerEdge T640 GPU enablement components with multiple original part numbers, editable quantities, model-specific power and cooling checks, and a complete RFQ summary.
Pricing, availability, condition, included options and warranty are confirmed in your quotation.
PowerEdge / GPU enablement
Plan a model-specific GPU enablement requirement across power, cooling, airflow and retention. The editable starting quantities are a parts-planning example, not a universal Dell kit BOM. GPUs, PSUs and missing configuration-specific parts are quoted separately.
Part numbers below identify individual components. A shared part number does not make T630 and T640 upgrade packages interchangeable.
Installation planning
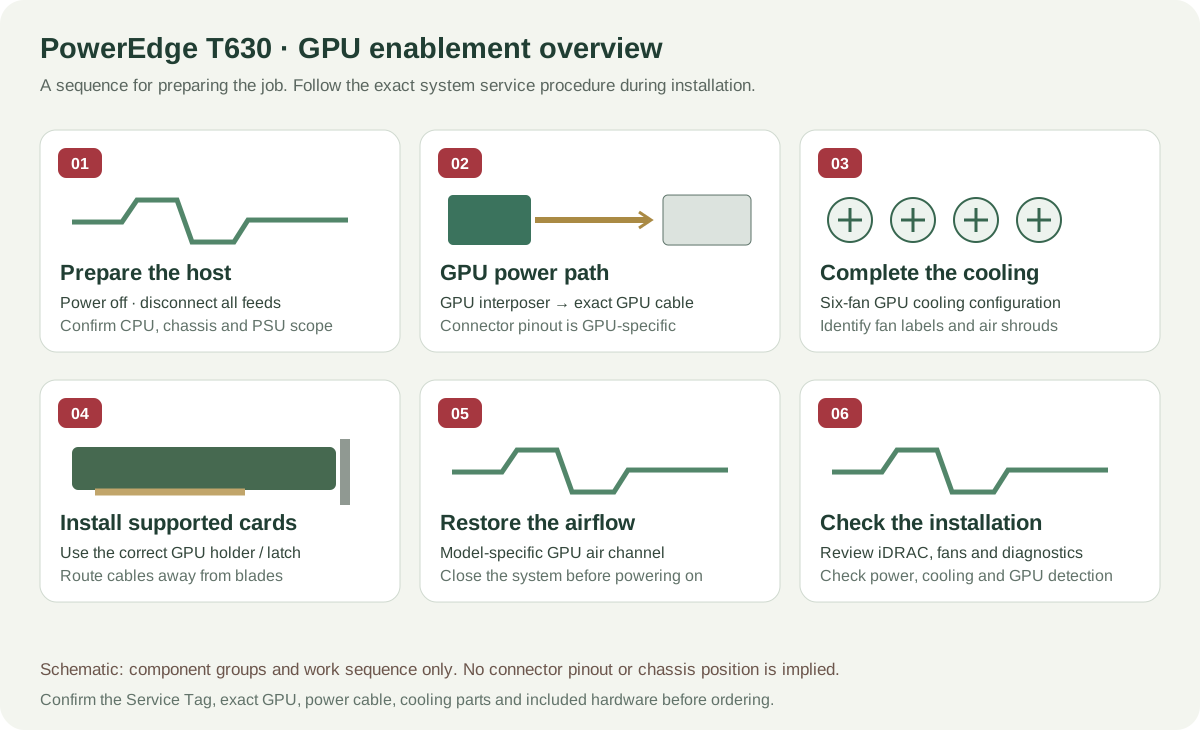
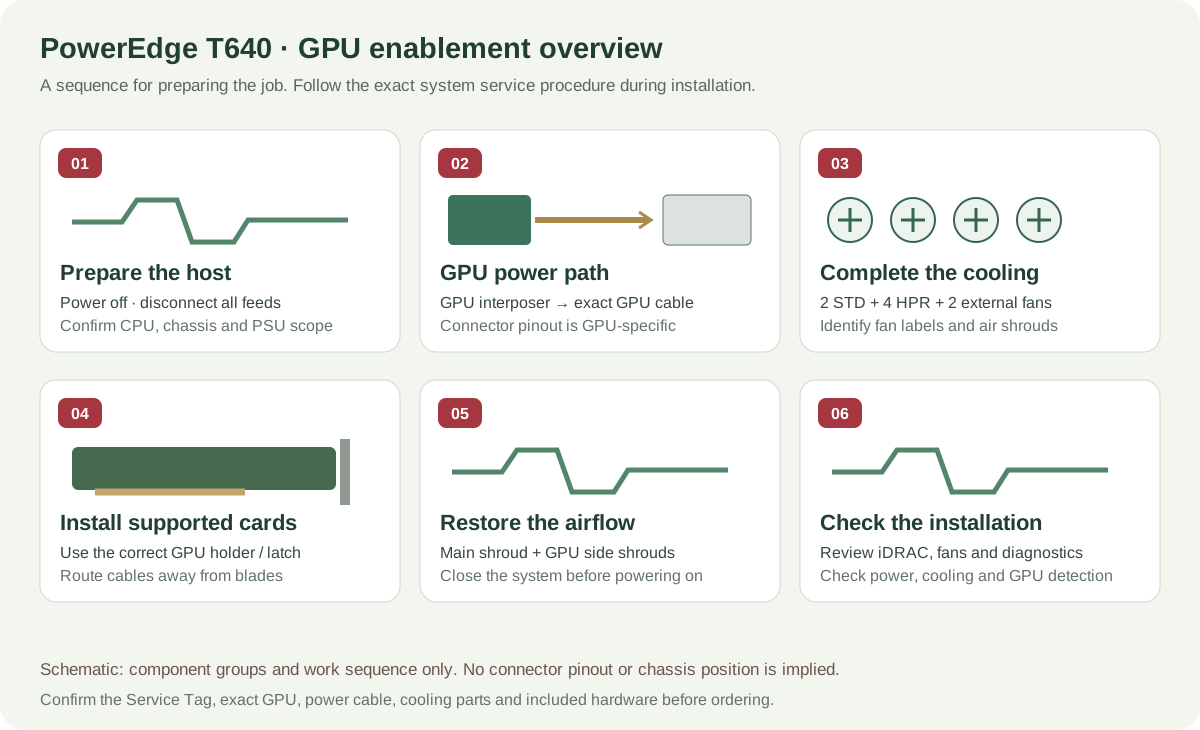
Use this overview to plan the work and identify missing parts. Confirm the exact service procedure and safe shutdown before working inside a system. Marking a step reviewed is a personal checklist, not a compatibility approval.
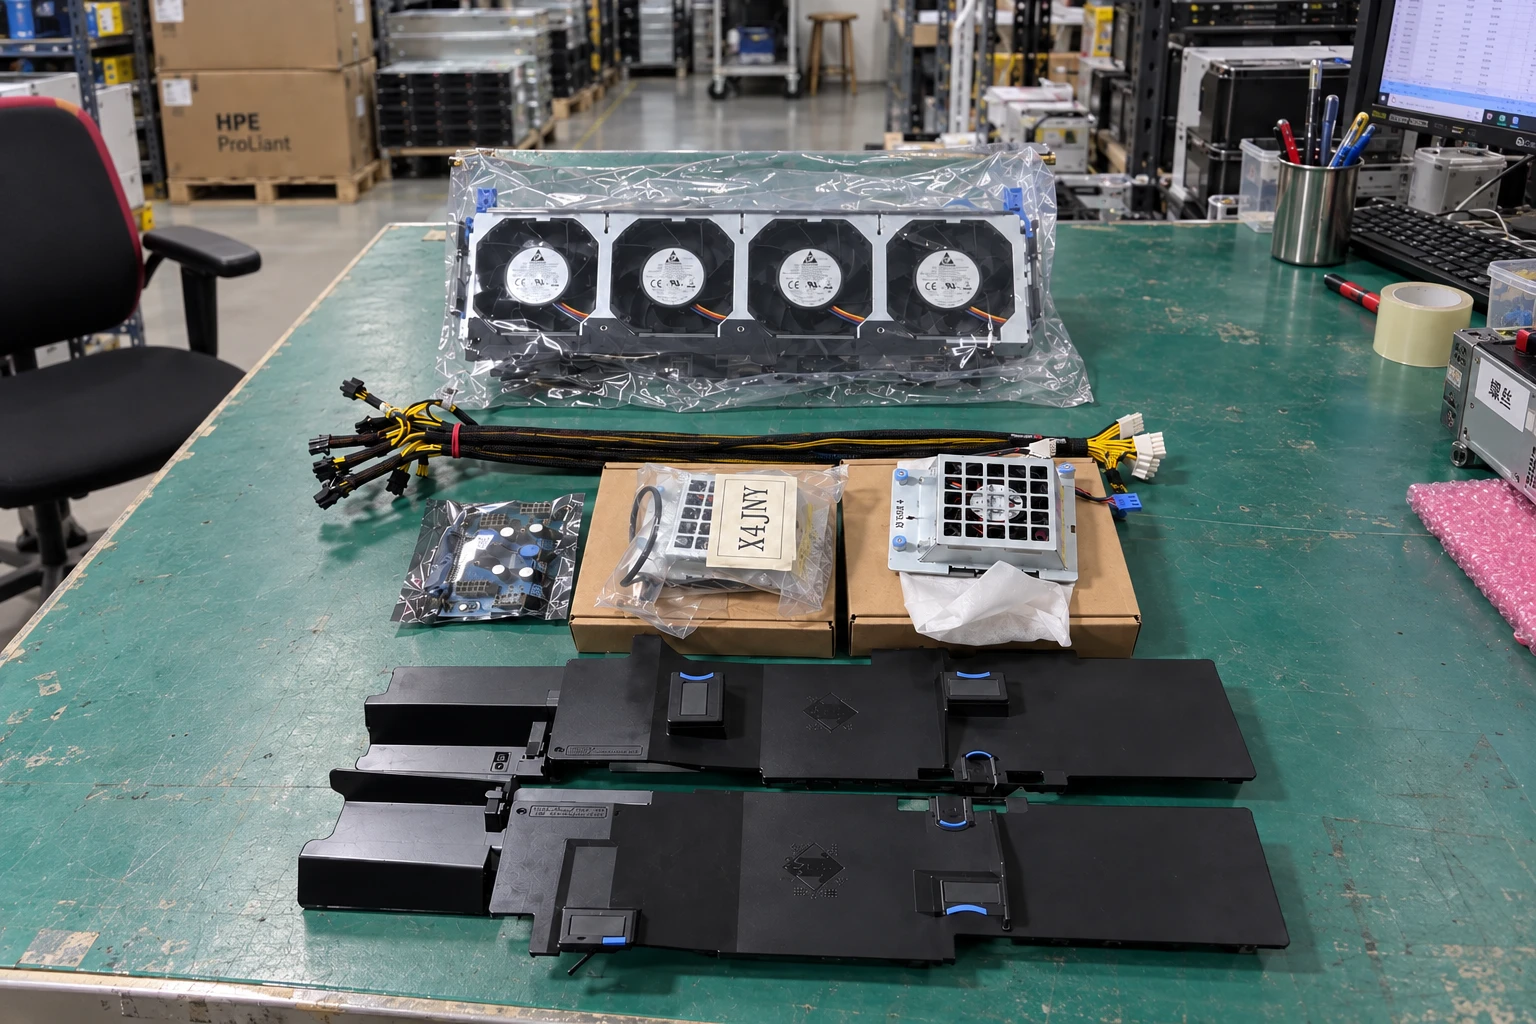
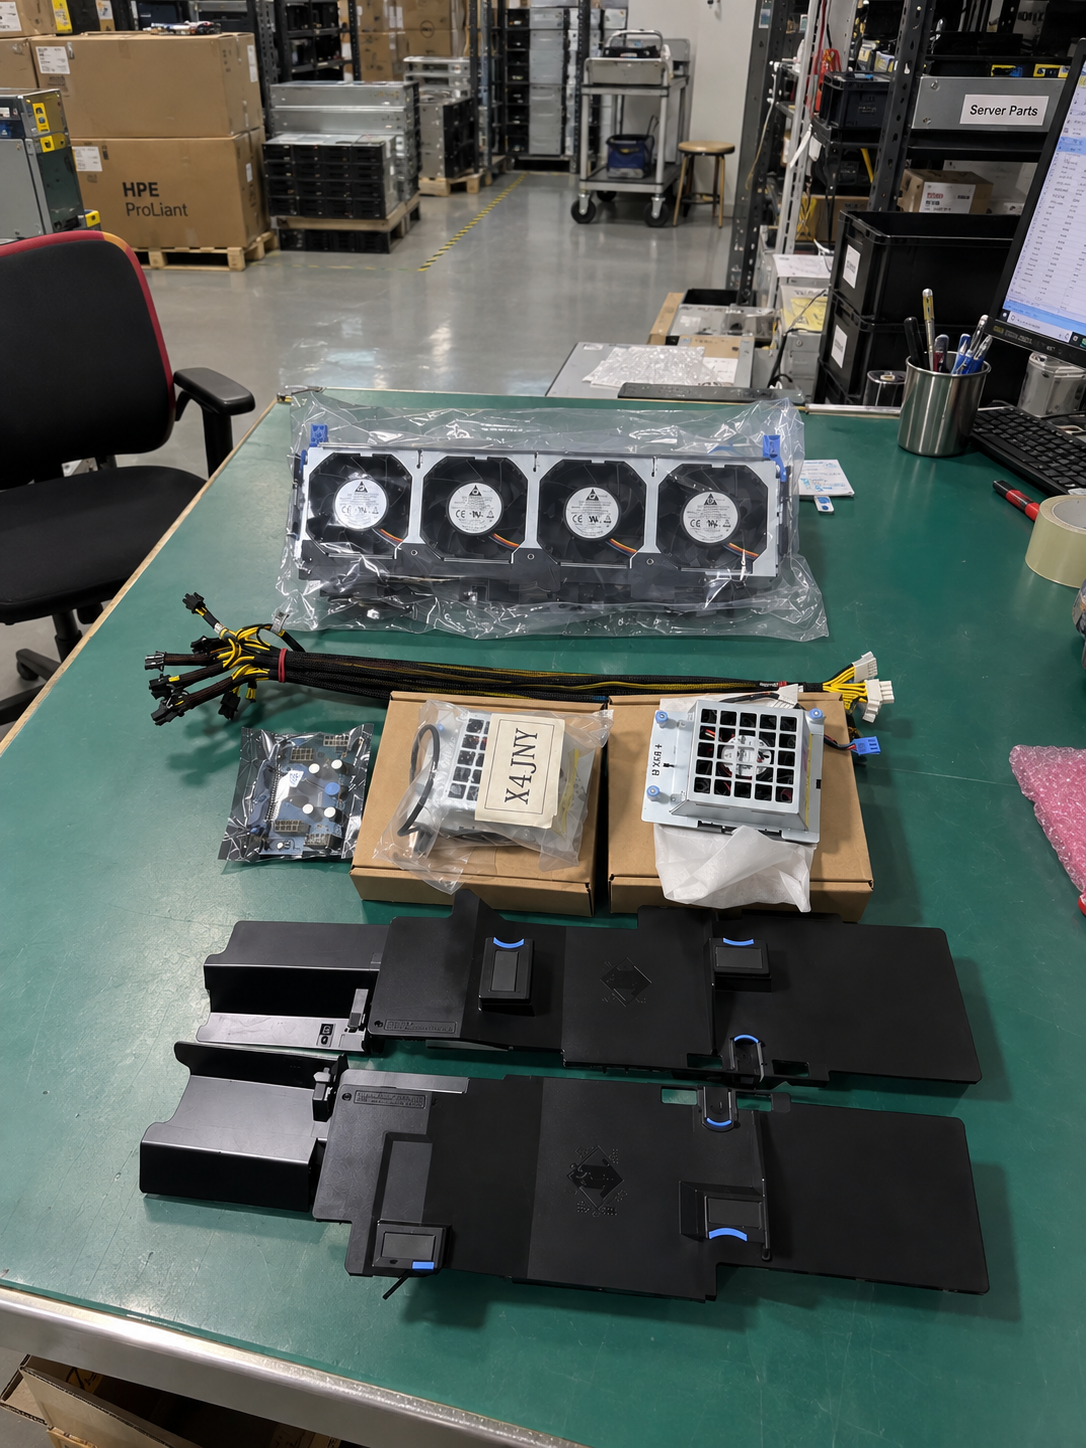
Photographic study based on the supplied component arrangement: power board, harnesses, fan assemblies and airflow parts. Confirm the individual P/Ns and quantities in your quotation; the pictured arrangement is not a certified kit BOM.
AI-generated photographic illustration. Not an actual installation record or inventory photograph. Use the exact service procedure for your system.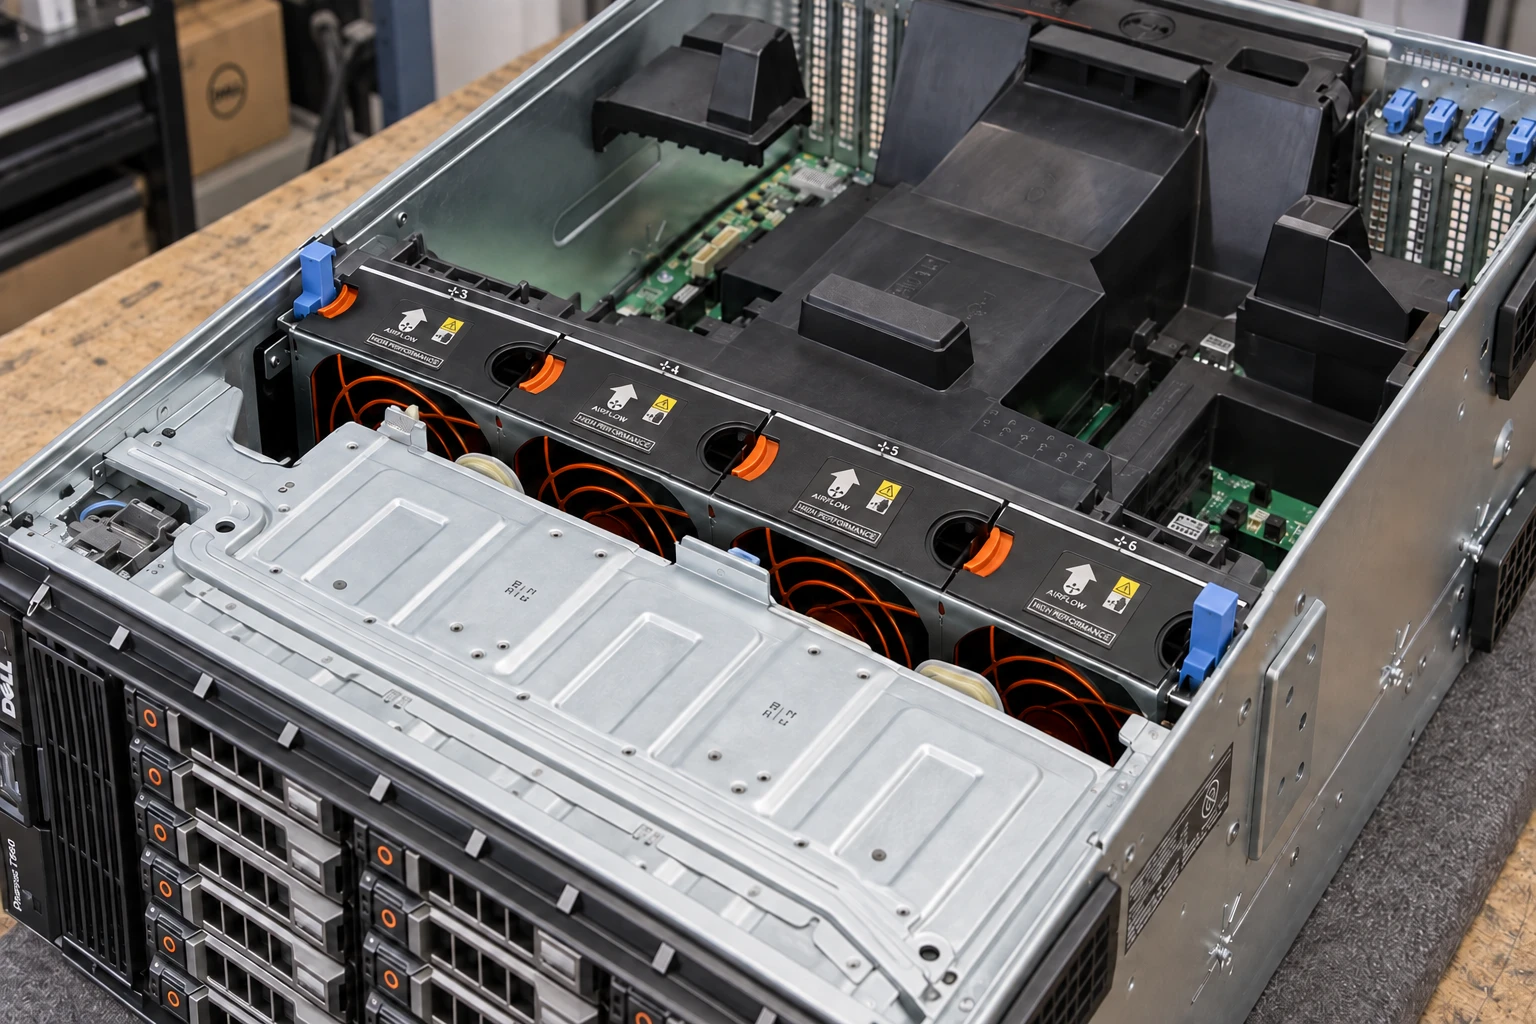
The four-fan carrier sits immediately behind the drive cage. Secure nearby cables, align the carrier guides with the chassis supports, lower the assembly into its connectors and engage both release levers. Confirm the required high-performance modules for positions 3–6.
AI-generated photographic illustration. Not an actual installation record or inventory photograph. Use the exact service procedure for your system.Record the PowerEdge T640 Service Tag, drive chassis, CPU count, GPU model, PCIe cards and installed cooling. Compare missing parts with the model-specific conditions. Shut down the operating system, disconnect input power and follow ESD precautions. Power-board service can require removal of PSUs and the system board; use the exact service procedure.
Check: Chassis and GPU qualification, complete retention parts, exact PSU identities and assembly contents reviewed. Power isolated and service sequence understood.
Seat the GPU interposer at its chassis guides and engage its retention mechanism. Restore removed system components in the service order. The diagram is a functional overview, not a pinout or chassis-location drawing.
Check: Correct GPU board, secure retention and main power connection verified.
Retain standard fans 1/2, fit high-performance fans 3–6 and the appropriate external fan arrangement. Fit main and paired GPU shrouds; verify both external fans for the full GPU-ready layout.
Check: No missing fans, obstructed cables or incomplete shrouds.
Match card holders to the chassis and GPU dimensions, then use the permitted PCIe slots. Route exact GPU power harnesses clear of fans. Do not alter pinouts or use connector shape as proof of cable compatibility.
Check: Card retention, slot allocation, complete cable path and connector fit reviewed.
Seat the correct main and model-specific GPU shrouds, reconnect required fan cables, and restore fillers and covers before applying power. Check that no harness is trapped or obstructs a fan.
Check: Complete airflow path and closed system; no loose cables or missing panels.
Reinstall covers and required airflow pieces. Restore power and inspect hardware detection, fan status, system event logs and GPU diagnostics. Perform workload and thermal checks for the intended configuration.
Check: No unresolved power, fan, thermal or PCIe errors; final supplied P/N list recorded.
Choose the host first
Compare the configuration conditions before selecting parts. These are planning distinctions, not approval of an arbitrary GPU or retrofit.
| Requirement | PowerEdge T630 | PowerEdge T640 |
|---|---|---|
| Processor and slot plan | One CPU: slots 1/3, up to two qualified GPUs. Two CPUs: slots 1/3/6/7, up to four. | Two processors in the qualified GPU-ready configuration. Slots 1/3 and 6/8 have different external-fan requirements. |
| Cooling arrangement | Six fan positions: four middle fans plus two in the processor shroud. 56F1P and J2GJM are assembly references. | Eight-fan GPU-ready layout: two standard, four high-performance middle and two external. KJN71 fans and 21YRH cage are separate pieces. |
| Chassis and airflow | Check the exact drive cage, shroud, holders and card-specific limits. Express Flash limits GPU count to two. | Rack configuration; no 18 × 3.5-inch or Fresh Air GPU configuration. Main and GPU shrouds are required. |
| Power review | 1100W / 1600W GPU configurations; the guidance specifies two 1100W PSUs for more than two GPUs. | At least 1100W PSU rating. Exact PSU selection, input voltage and redundant budget depend on the system. |
| Shared parts | X7C1K power board and DRXPD harness appear in both platforms. Match the exact GPU and cable path. | Shared power parts do not make the cooling, shrouds, holders or complete kits interchangeable. |
Technical overview
Use the complete part number when reviewing options and system requirements.
| Host platform | Dell PowerEdge T640 only; configuration review required |
|---|---|
| Kit identity | Multiple component P/Ns; no universal manufacturer kit P/N asserted |
| Quantity basis | Editable planning example; verify supplied assembly contents |
| Excluded from component total | Server, GPUs, PSUs and unresolved model-specific items |
Model & application details
Explore the PowerEdge T640 host platform. Review each selected part and any hardware already installed before requesting a complete configuration quote.
One power board, four adjustable harnesses, two external fan assemblies, four individual high-performance middle fans, one bare cage, two shroud panels and two guide components. Existing standard fans 1/2 and the main shroud must also be correct. A populated cage must not be counted again as separate fans.
489-BBCW is a configured-order GPU option; it is not a verified universal service BOM. PET640GPUKit is a supplier SKU. 5106547 is a configurator option identifier. None is an alias for X7C1K or a guarantee of the contents offered here.
No. X7C1K and DRXPD appear in both platforms, but cooling, airflow, mechanical retention and host qualification differ. Use the matching model page.
Send Service Tag, CPU count and models, drive-cage layout, GPU model/P/N and quantity, PSU labels and input voltage, existing fan/shroud photos, PCIe controllers, delivery country and required condition. PSU P/Ns are selected from the complete configuration; no unverified PSU number is assigned here.
X4JNY is not a confirmed substitute for 8DF31. Standard RF4VK / 6KK42 assemblies are not established replacements for GPU high-performance cooling. GXH1V and MRY2P service assemblies must be checked for included panels before adding individual pieces.
Prepare your enquiry
Include the full model, manufacturer P/N, revision and quantity.
Tell us the host model, generation, installed configuration and required supporting hardware.
Specify condition, testing requirements, destination and requested delivery date.
Continue exploring
These are related catalogue entries, not confirmed interchangeable replacements.